AC Dimmer Controller, 1 Channel, AC + ESP8266
Overview
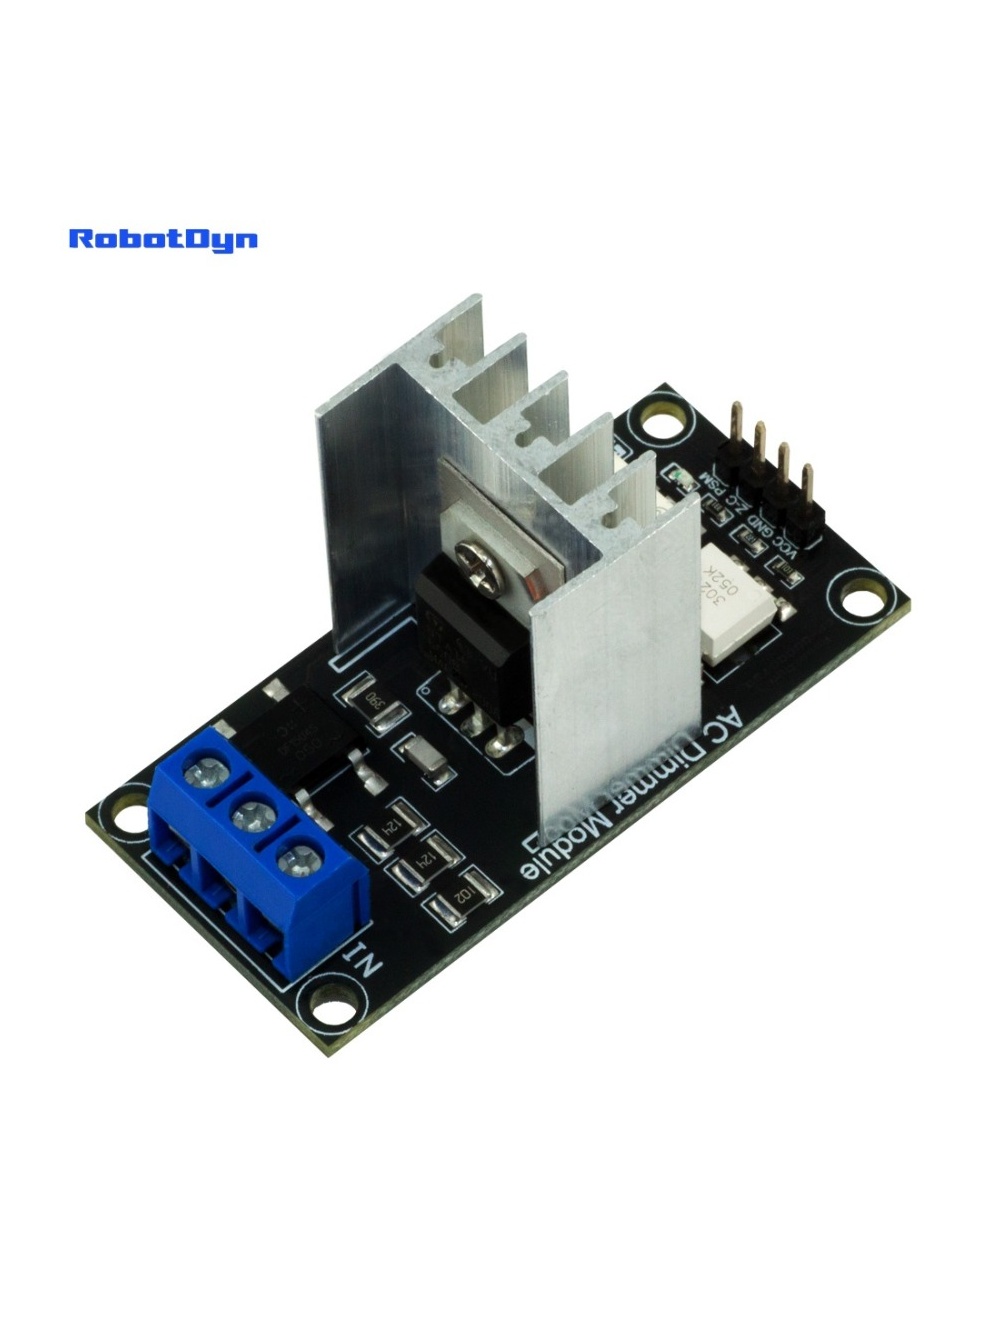
The RobotDyn 1-Channel AC Dimmer with ESP8266 is a standalone smart dimmer — combines a TRIAC-based AC dimmer with an onboard ESP8266 WiFi microcontroller. No external Arduino needed. Plug it in, flash your favorite firmware, and control AC loads from your phone, Home Assistant, or Alexa.
Compared to the microcontroller-driven AC Dimmer 1-Channel, this module is complete in itself — same dimming circuit, but with the brains already onboard.
Why Onboard ESP8266?
- No external Arduino — saves space and one device in your project box
- Native WiFi for IoT integration
- OTA firmware updates — flash new firmware over WiFi after first programming
- Compatible with Tasmota/ESPHome — works out of the box with Home Assistant
- Simpler wiring — just AC in, AC out, USB to program
Flashing Tasmota (Recommended)
Tasmota is open-source ESP8266 firmware purpose-built for smart devices. Once flashed:
- Web UI for control and configuration
- MQTT integration for any home automation hub
- Native Home Assistant discovery
- Schedules, timers, rules
Initial flash (one-time, via USB-TTL):
- Connect FTDI USB-TTL adapter to the board’s programming header (4 pins: 3.3V, GND, TX, RX)
- Hold the Flash button while powering on (puts ESP8266 in bootloader mode)
- Download Tasmota firmware: github.com/arendst/Tasmota — get the
tasmota-lite.binbuild - Flash with esptool.py:
esptool.py --port /dev/ttyUSB0 erase_flash esptool.py --port /dev/ttyUSB0 --baud 460800 write_flash 0x0 tasmota-lite.bin - Power-cycle the board, connect to its WiFi AP
tasmota-XXXXXX, configure your home WiFi
Tasmota template for this module:
{"NAME":"RobotDyn AC Dimmer","GPIO":[0,0,0,0,409,408,0,0,0,0,0,0,0],"FLAG":0,"BASE":18}(Paste into Tasmota → Configuration → Configure Other → Template)
ESPHome Configuration
Alternative to Tasmota — works similarly but uses YAML configuration:
substitutions:
  device_name: dimmer-bedroom

esphome:
  name: $device_name
  platform: ESP8266
  board: esp01_1m

wifi:
  ssid: "YourWiFi"
  password: "YourPassword"

api:
ota:

light:
  - platform: monochromatic
    name: "Bedroom Lamp Dimmer"
    output: dimmer_output

output:
  - platform: ac_dimmer
    id: dimmer_output
    gate_pin: GPIO4
    zero_cross_pin:
      number: GPIO5
      mode: INPUT
      inverted: yes
Flash via USB once, after that all updates are OTA over WiFi.
Common Uses
- WiFi-controlled bedroom / living room lamp dimmer
- Home Assistant integration with brightness slider
- Voice control via Alexa / Google Home (through Home Assistant)
- Smart sunrise/sunset lamp simulator
- Heating element PWM control via Home Assistant automations
Safety Notes
This module switches mains voltage. Required precautions:
- Fuse the AC input for your load
- Enclose in a grounded plastic or metal enclosure
- For loads above 4A, install a heatsink on the TRIAC
- Never operate while flashing — disconnect AC during USB programming
Related Products
- 4-Channel AC Dimmer + ESP8266 — same idea, 4 independent channels
- AC Light Dimmer 1-Channel (Arduino-driven) — needs external MCU
Where to Buy in 2026
RobotDyn discontinued production, but ESP8266-based AC dimmers are widely available. Look for boards with explicit Tasmota or ESPHome support in the listing — these are the most documented. Examples: Athom AC Dimmer, Shelly Dimmer 2 (more polished, ~$30+).