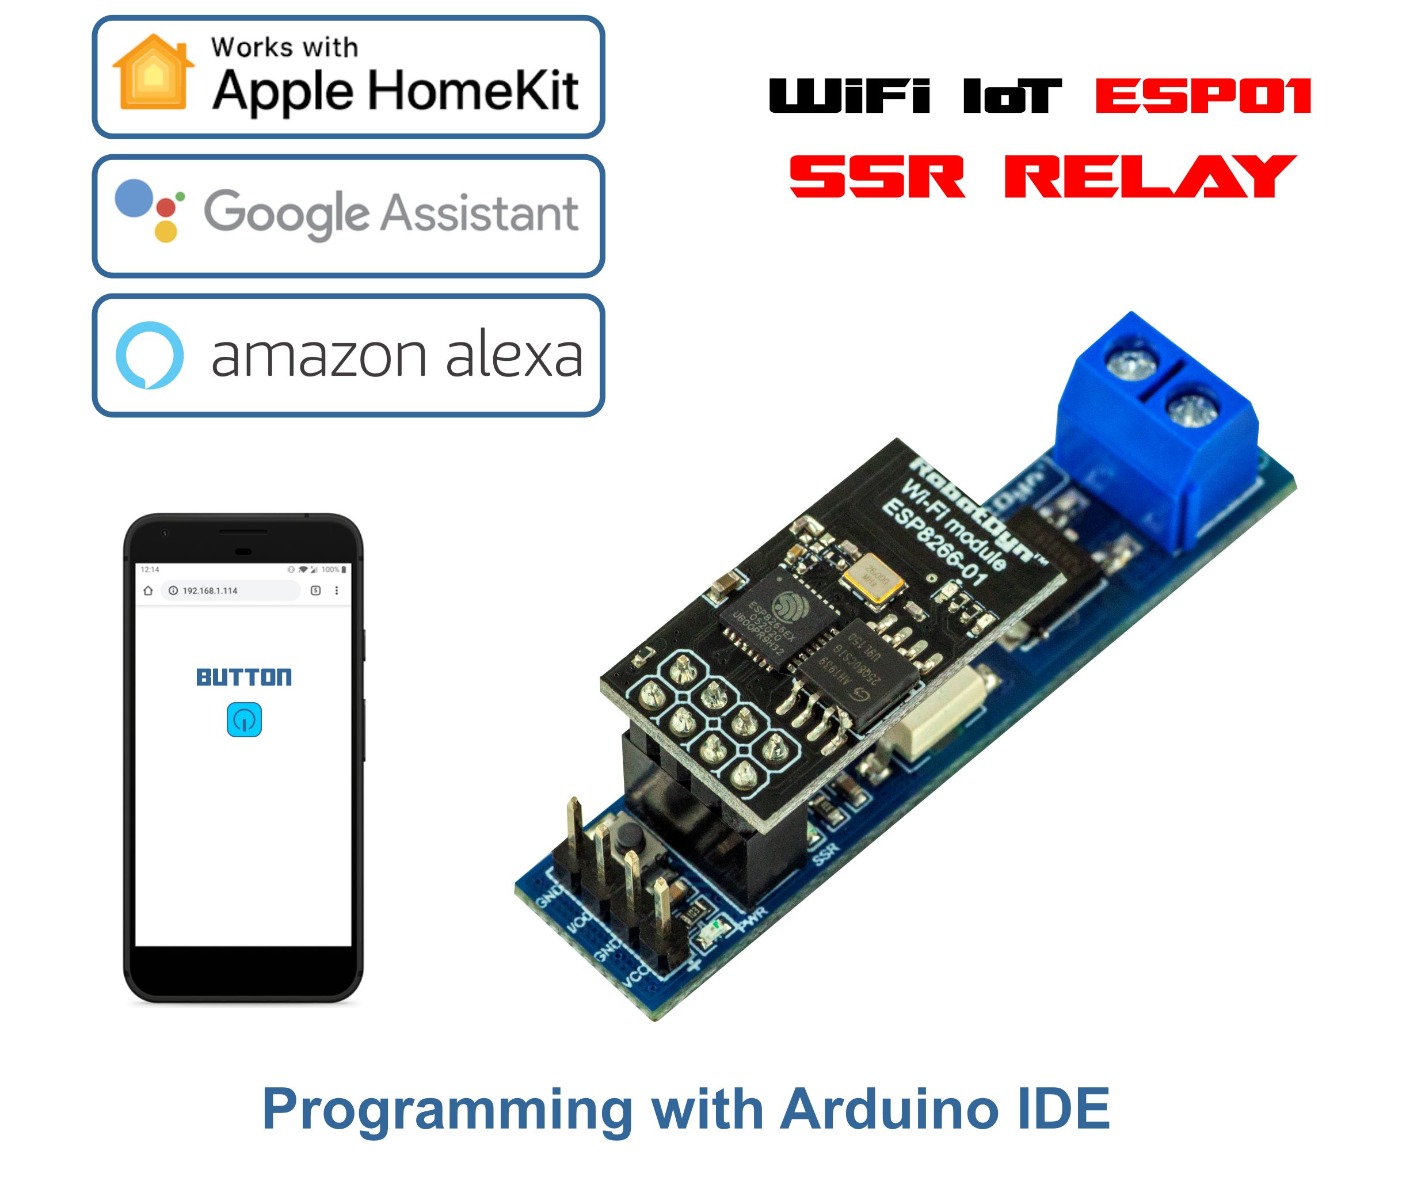
ESP-01 SSR AC Relay Module, AC 4A-600V — for Smart Home and DIY Projects
Overview
The RobotDyn ESP-01 SSR Relay is a solid-state AC relay with an integrated ESP-01 (ESP8266) socket. It switches AC loads up to 4 A at 600 V using a BT136-600B TRIAC triggered through a MOC3042 zero-crossing optoisolator — no mechanical contacts, no clicking sound, no contact wear.
The ESP-01 socket lets you drop in any ESP-01 (or ESP-01S) module and gain WiFi control with a few lines of code, turning the relay into a smart-switch suitable for home automation, Tasmota/ESPHome/MQTT integration, or custom WiFi-connected devices.
Why Solid State vs. Mechanical Relay?
| Feature | Mechanical Relay | This SSR |
|---|---|---|
| Lifetime | ~100,000 cycles | >10 million cycles |
| Switching speed | 5–15 ms | <20 ms |
| Audible noise | ”Click” | Silent |
| Vibration sensitivity | Yes | No |
| Inrush handling | Good for resistive | Better with snubber |
| Cost | Lower | Slightly higher |
| EMI | Lower | TRIAC generates RF noise |
Solid-state relays are ideal for frequent switching (PWM-style heating control, motor speed via burst-firing) and silent operation (bedroom lamps, baby room controllers).
ESP-01 Pinout (when installed)
The relay is triggered by the ESP-01’s GPIO0 going HIGH. Available GPIOs after installation:
| ESP-01 Pin | Function |
|---|---|
| GPIO0 | TRIAC trigger (HIGH = relay on) |
| GPIO2 | Free for use (e.g., onboard LED control, external sensor) |
| TX/RX | UART (also act as GPIO1/GPIO3) |
External switch (dry contact) terminals are also exposed — wire a wall switch in parallel for hybrid local + WiFi control.
Sample Code (Arduino ESP8266 Core)
#include <ESP8266WiFi.h>

const char* ssid = "YourWiFi";
const char* password = "YourPassword";
const int relayPin = 0;   // GPIO0

WiFiServer server(80);

void setup() {
  pinMode(relayPin, OUTPUT);
  digitalWrite(relayPin, LOW);   // relay off

  WiFi.begin(ssid, password);
  while (WiFi.status() != WL_CONNECTED) delay(500);
  server.begin();
}

void loop() {
  WiFiClient client = server.available();
  if (!client) return;
  String req = client.readStringUntil('\r');
  if (req.indexOf("/on") != -1)  digitalWrite(relayPin, HIGH);
  if (req.indexOf("/off") != -1) digitalWrite(relayPin, LOW);
  client.print("HTTP/1.1 200 OK\r\n\r\nOK");
  client.stop();
}
For a more polished setup, flash Tasmota or ESPHome onto the ESP-01 — both provide rich UIs, MQTT integration, and Home Assistant support out of the box.
Safety Notes
This relay switches mains voltage. Required precautions:
- Always fuse the AC input for your load
- Enclose in a properly grounded enclosure
- Maintain creepage distance — never wire AC and DC sides on the same breadboard
- For continuous loads above 2 A, add a heatsink to the TRIAC
Common Uses
- WiFi-controlled lamps (especially bedroom lights — silent operation)
- Smart fans / pumps with web control
- Burst-firing heating control (PWM at ~1 Hz)
- Home Assistant / Tasmota / ESPHome devices
- Remote-controllable AC outlets
Where to Buy in 2026
Look for boards explicitly with the MOC3042 optoisolator (zero-cross switching reduces EMI) and BT136-600B TRIAC. Some cheaper clones use non-zero-cross optoisolators which generate more noise.
Related Products
- AC Light Dimmer 1-Channel — for dimming (phase-cut)
- ESP-01 WiFi module 8Mb — the ESP-01 module that fits this socket
Documentation
- Pinout PDF — coming soon
- Tasmota flashing guide — coming soon