Best AC Dimmer Modules for Arduino, ESP8266 & ESP32 in 2026
If you’ve ever wanted to control the brightness of a lamp, the speed of an AC motor, or the temperature of a heating element from a microcontroller, you need an AC dimmer module. Unlike DC PWM control, AC dimming requires zero-cross detection and TRIAC firing synchronized to the mains waveform — and getting it wrong can mean a fried microcontroller or worse.
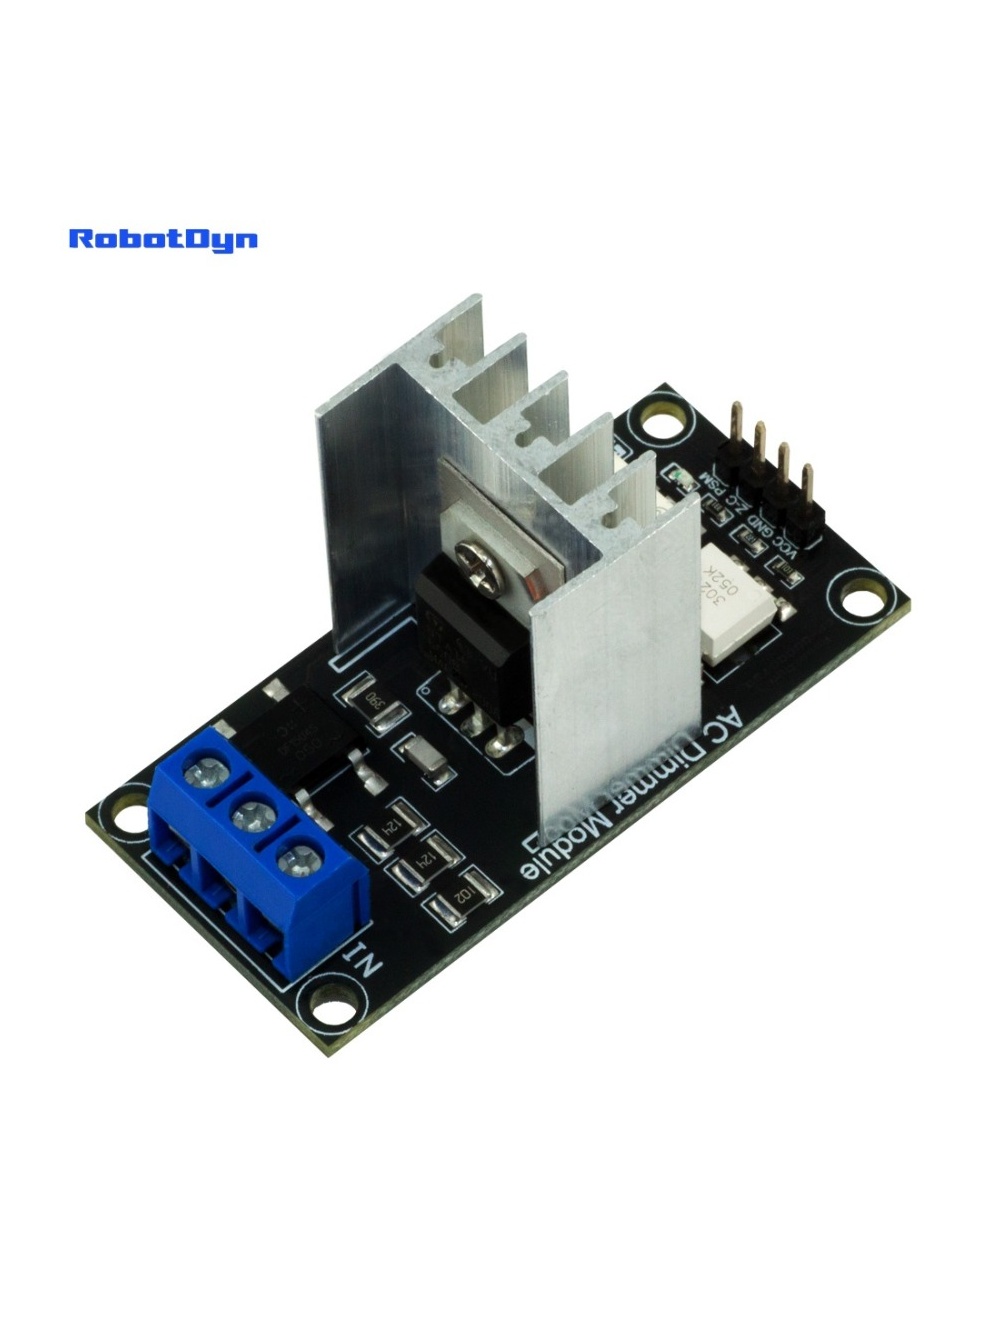
In this guide we compare the most-used AC dimmer modules in the DIY electronics community in 2026, with honest pros and cons for each, real-world wiring tips, and which one is right for your project.
Quick Recommendations
| Use case | Pick | Why |
|---|---|---|
| General lamp / fan dimming up to ~8 A | RobotDyn 1-Channel AC Dimmer | Best documentation, optocoupler isolation, well-supported library |
| Heating elements, motors, heavy loads up to 24 A | RobotDyn 16/24A High-Load Dimmer | Industrial-grade BTA24 TRIAC, 600 V rating, same library |
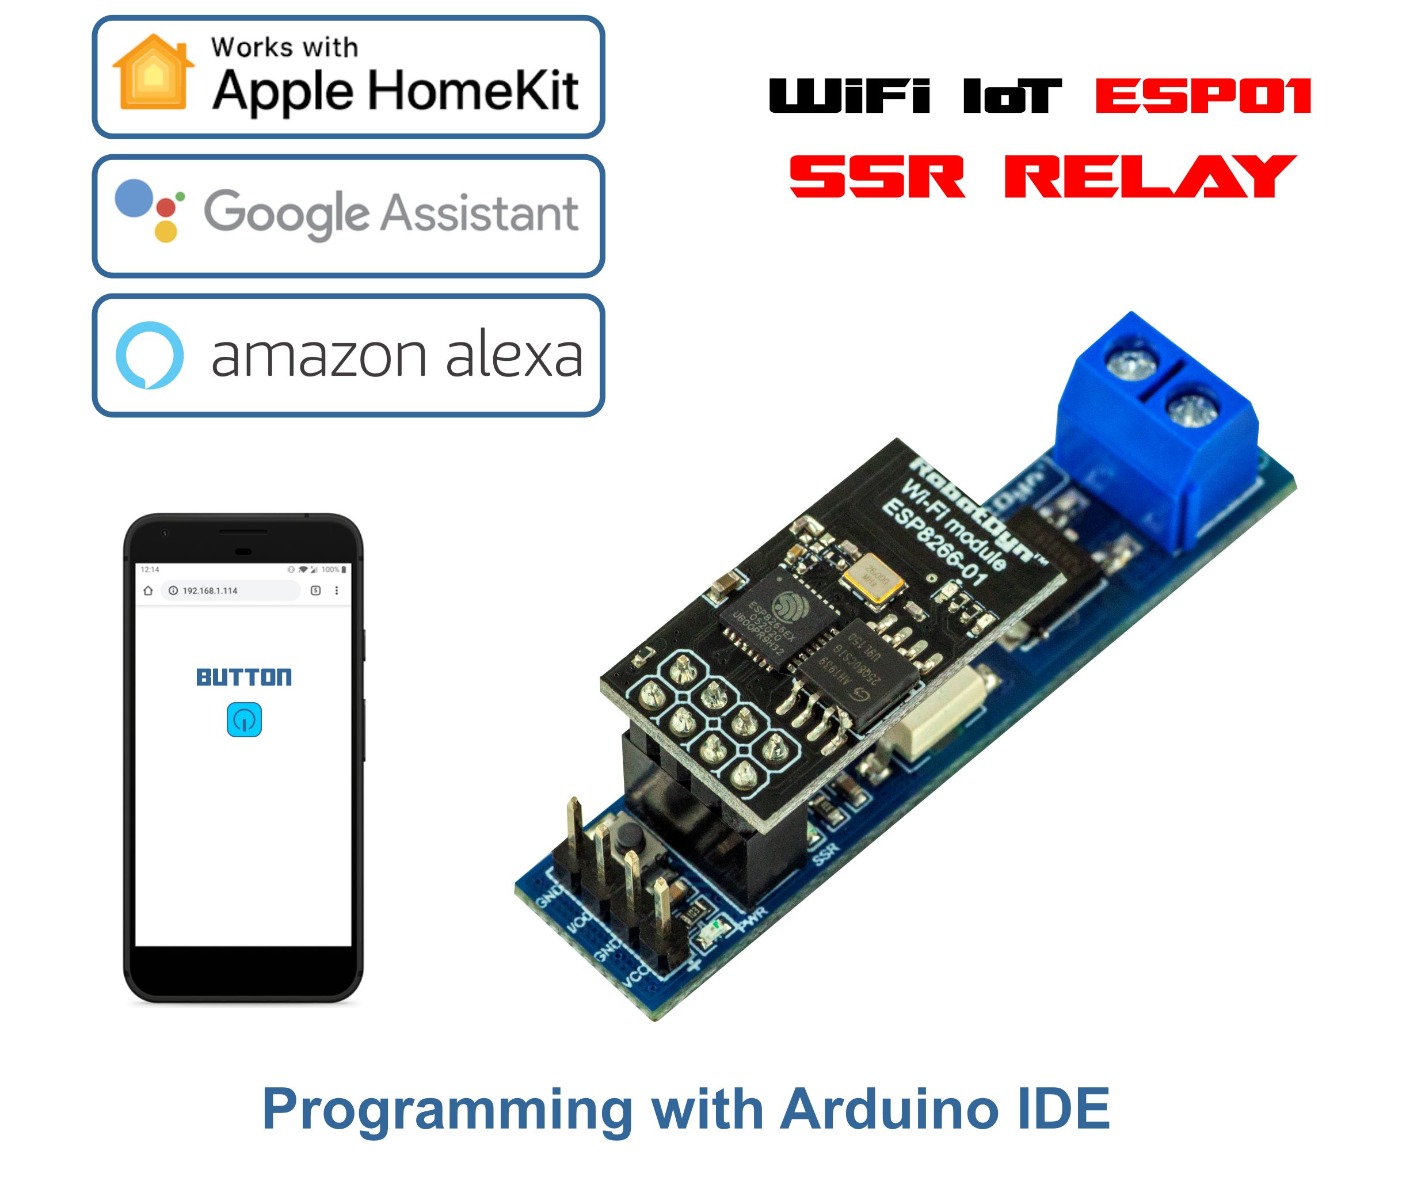
| Just need on/off switching (no dimming) | RobotDyn ESP-01 SSR Relay | Solid-state, silent, has WiFi via ESP-01 |
| Bargain bin / not safety-critical | Generic AliExpress clone | Cheap, but verify the optocoupler is present |
Why You Need an AC Dimmer Module
Microcontrollers run at 3.3 V or 5 V. Wall outlets carry 110 V or 220 V AC. You can’t connect them directly — a single mistake and the microcontroller (and possibly you) are toast.
An AC dimmer module bridges these two worlds:
- Galvanic isolation between the high-voltage AC side and the logic side, usually via an optocoupler
- Zero-cross detection — a feedback signal that tells the microcontroller exactly when the AC sine wave crosses zero, so it can synchronize the TRIAC firing
- TRIAC switching — a controlled semiconductor that passes AC current after being triggered, and automatically turns off at the next zero-cross
The microcontroller then uses phase-cut dimming: after each zero-cross, it waits some number of microseconds before firing the TRIAC. The longer it waits, the less of each sine wave reaches the load, and the dimmer the lamp gets. At 50 Hz, the maximum delay is 10 ms (full off); at 0 ms, you get 100 % power.
What Loads Work With AC Dimmers?
Not every AC device can be dimmed. Phase-cut dimming works by chopping the AC waveform — this works fine for purely resistive loads, but causes problems with electronic devices that expect a clean sine wave.
Works perfectly:
- Incandescent lamps (the classic case)
- Halogen lamps (with magnetic transformers)
- Resistive heating elements (water heaters, soldering irons, hot plates)
- AC induction motors (fans, drills, small pumps)
Works if marked “dimmable”:
- Dimmable LED bulbs — must say so on the package
- Dimmable LED drivers
Does NOT work:
- Standard (non-dimmable) LED bulbs
- CFL / compact fluorescent lamps
- Devices with switching power supplies (laptops, phone chargers, modern fridges)
- Anything with electronic motor controllers (variable-speed appliances)
- Most modern dishwashers, washing machines, ovens
If you’re not sure: a non-dimmable load won’t be damaged by a few seconds of dimmer testing, but it will probably flicker, buzz, or refuse to turn on at low brightness.
Detailed Reviews
1. RobotDyn AC Light Dimmer Module, 1 Channel (Best Overall)
The default choice for 95 % of DIY AC dimming projects. This is the module you’ll find recommended in nearly every Arduino lamp-dimming tutorial published since 2017, and for good reason.
Specs:
- 110 V – 220 V AC, 50 / 60 Hz
- 4 A continuous (8 A with heatsink)
- TRIAC: BTA16-600B
- 3.3 V / 5 V logic compatible
- Zero-cross detection + optocoupler isolation
- Compatible with Arduino, ESP8266, ESP32, STM32, Raspberry Pi
Pros:
- Excellent open-source library (RBDdimmer)
- Optocoupler galvanic isolation — safe for microcontroller side
- Cheap (~$3–8 for clones, $10–15 for genuine)
- Tons of community tutorials and Stack Exchange answers
Cons:
- 4 A continuous limit is restrictive for larger loads
- Phase-cut creates EMI — not ideal for nearby radio receivers
- Original RobotDyn production has ended; quality varies on clones
Best for: Bedroom lamps, desk lamps, small fan speed control, soldering iron temperature control with PID.
View the full RobotDyn AC Dimmer 1-Channel datasheet, pinout, and wiring guide →
2. RobotDyn High-Load 16/24A AC Dimmer (Best for Heavy Loads)
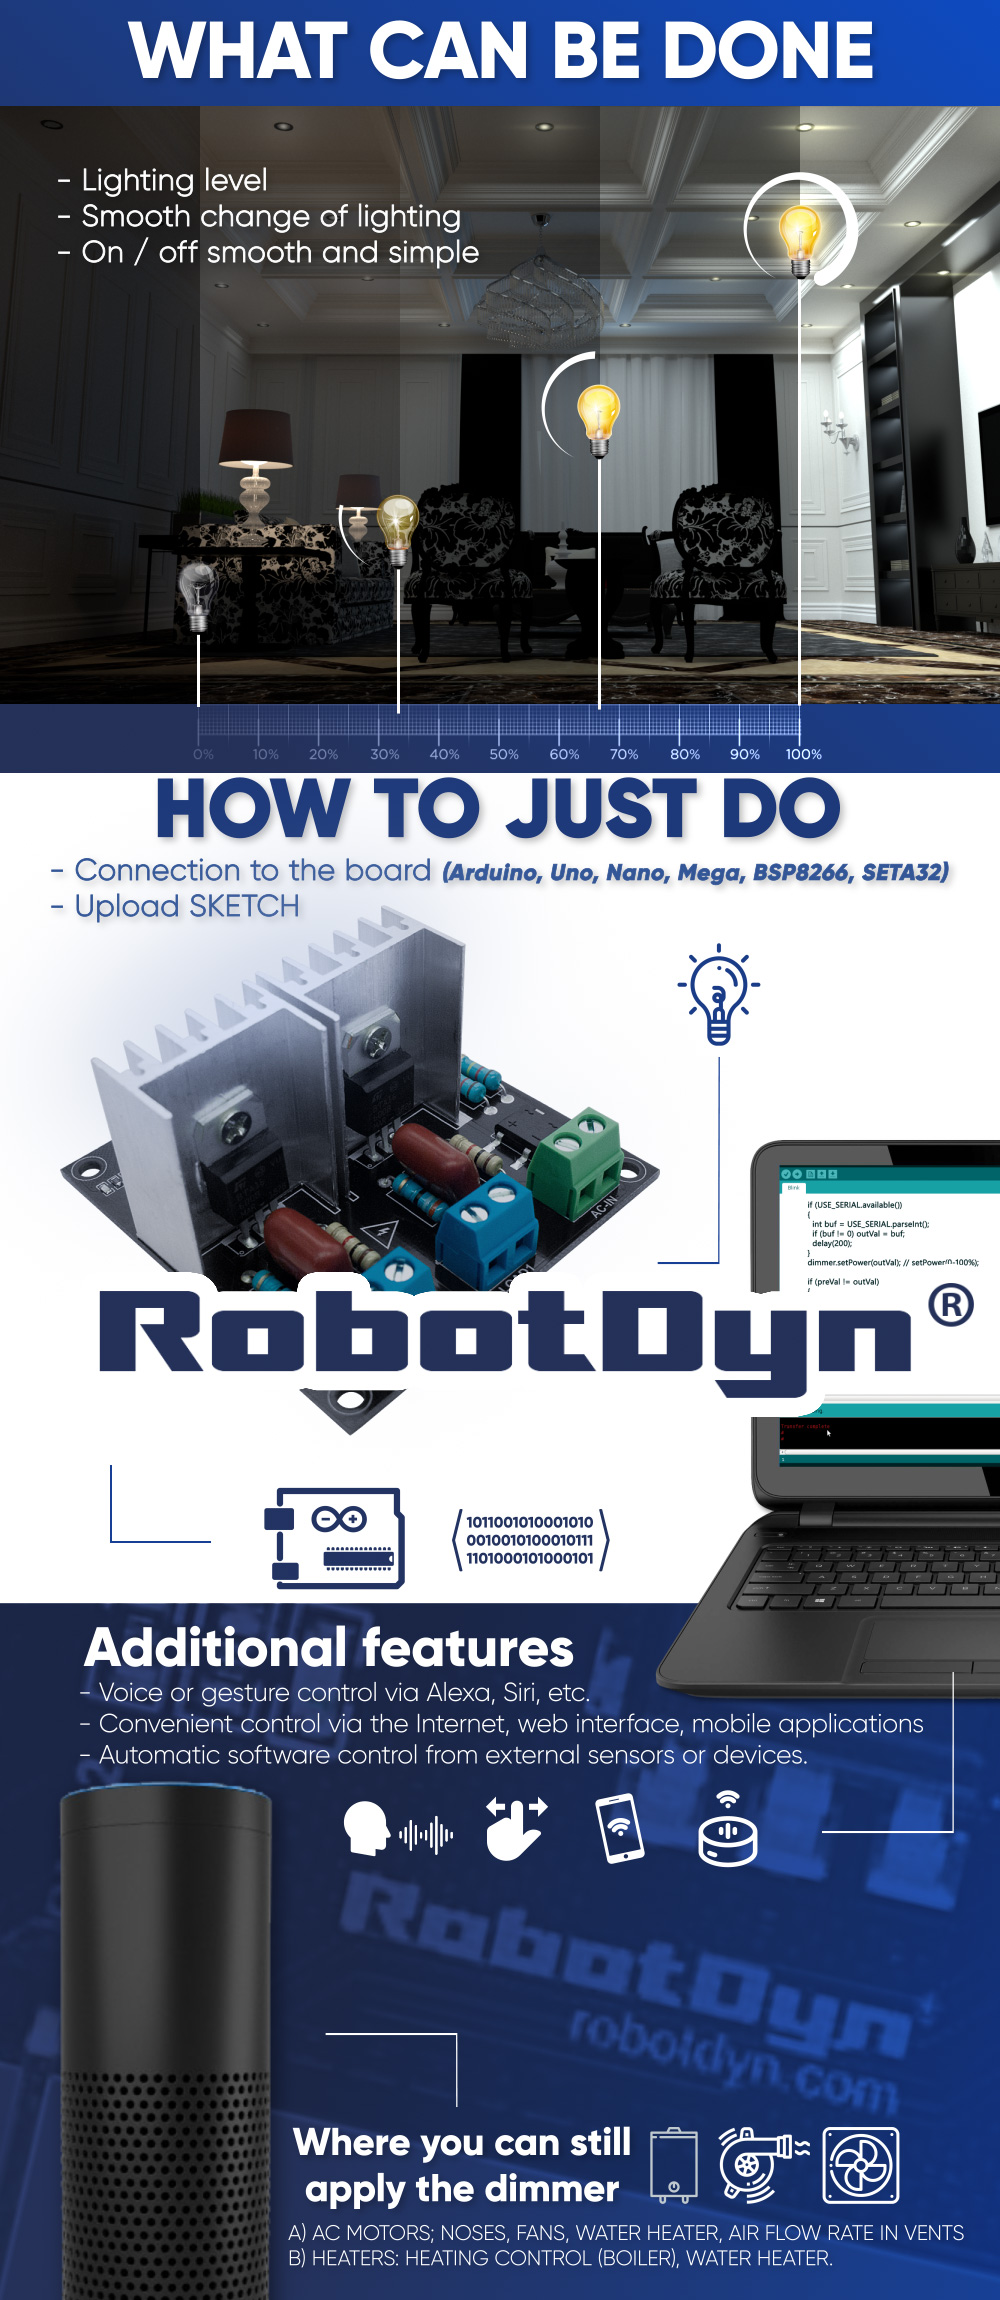
When the 8 A standard dimmer isn’t enough, this is the upgrade path. Same library, same code, same pinout — just a much beefier TRIAC and heavier copper traces.
Specs:
- Up to 600 V AC
- 16 A continuous, 24 A peak (with proper heatsinking)
- TRIAC: BTA16-600B or BTA24-600B
- 3.3 V / 5 V logic
- Same optocoupler isolation
Pros:
- Drop-in compatible with code for the 4 A dimmer
- Handles industrial-scale loads
- 600 V rating gives margin for spike-prone loads
- Larger PCB area for heatsink mounting
Cons:
- Bigger, harder to fit in a small enclosure
- Heatsink is essential above 10 A continuous — adds cost and space
- Overkill for simple lamp dimming
Best for: Heating elements, large AC fans, induction motor speed control, reflow oven retrofits, immersion heater PWM.
View the full High-Load Dimmer specs, cooling guide, and safety notes →
3. Krida Electronics AC Dimmer (Premium Alternative)
The Krida is the “professional” alternative to the RobotDyn — better-documented module from a small European workshop, with a CE mark and proper isolation. Several variants from 2 A up to 50 A.
Pros:
- Excellent build quality and documentation
- CE certified (matters for commercial products)
- Available in multiple current ratings
- Stable supply (still in production)
Cons:
- 2–3× the price of RobotDyn equivalents
- Smaller library ecosystem (Krida ships their own library that’s less popular than RBDdimmer)
- Less third-party community support
Best for: Commercial DIY products where certification matters, professional installations.
4. Generic AliExpress AC Dimmer Modules
Search “AC dimmer module Arduino” on AliExpress and you’ll get hundreds of results from $1.50 to $10. Most are clones of the RobotDyn design.
Pros:
- Cheapest option
- Sometimes available in bulk packs
Cons:
- Critical: Some omit the optocoupler — that’s the safety component. Avoid these.
- TRIAC may be a no-name knockoff with different specs
- Documentation is often a single blurry photo
- No warranty if something fails
Buying tip: Open the listing’s “Item Details” and look for “optocoupler” or “MOC3021/MOC3041” explicitly mentioned. If it isn’t shown on the PCB photo, walk away.
Comparison Table
| Module | Max Current | Voltage | Logic | Isolation | Library | Typical Price |
|---|---|---|---|---|---|---|
| RobotDyn 1-Channel | 4 A (8 A w/heatsink) | 110–220 V | 3.3/5 V | Optocoupler | RBDdimmer | $3–8 |
| RobotDyn 16/24A | 16 A (24 A peak) | up to 600 V | 3.3/5 V | Optocoupler | RBDdimmer | $8–15 |
| Krida 2 A | 2 A | 90–250 V | 5 V | Optocoupler | Krida | $15–25 |
| Krida 50 A | 50 A | 90–250 V | 5 V | Optocoupler | Krida | $40–60 |
| AliExpress clones | 2–8 A typical | 110–220 V | 3.3/5 V | Varies | RBDdimmer | $1.50–4 |
Wiring & Code Quickstart
For all RobotDyn-pattern dimmers, the wiring is identical:
Module pin → Microcontroller pin
─────────────────────────────────
VCC        → 5 V (or 3.3 V)
GND        → GND
ZC         → Digital input with interrupt support
              (Uno/Nano: D2 fixed, Mega: D2, Leonardo: D7,
               ESP32: any GPIO, ESP8266: D1/D5/D7)
PSM        → Any digital output (often D3)
Minimum Arduino sketch with the RBDdimmer library:
#include <RBDdimmer.h>

dimmerLamp dimmer(3);   // PSM pin

void setup() {
  dimmer.begin(NORMAL_MODE, ON);
}

void loop() {
  for (int p = 0; p <= 100; p++) {
    dimmer.setPower(p);   // 0–100 %
    delay(50);
  }
}
That’s it. The library handles zero-cross interrupts, timer setup, and TRIAC firing internally.
Safety Checklist
Before plugging mains into any of these modules:
- Fuse the AC input — appropriately sized for your load (e.g., 5 A fuse for a 4 A dimmer driving a lamp)
- Enclose all high-voltage wiring in a properly grounded enclosure
- Verify optocoupler is present on cheap clones before powering up
- Use stranded wire rated for the current on the AC side
- Add a heatsink for loads above 4 A (or 10 A on the High-Load module)
- Never wire the AC and DC sides on the same breadboard
- Test with a low-wattage incandescent first before connecting your real load
- Treat the entire module as live when AC is connected — never touch the back side
FAQ
Q: Can I use these to dim LED strips? A: No, not the 12 V LED strips. Those are DC — use a MOSFET driver module instead. AC dimmers are only for 110 V / 220 V loads.
Q: Why won’t my dimmable LED bulb work smoothly? A: Phase-cut dimming has known compatibility issues with cheap “dimmable” LEDs. Try a different brand — Philips Hue White Ambiance, Cree Connected, and Soraa Vivid bulbs are tested-good. Avoid the cheapest Amazon-basics LEDs.
Q: Can I control multiple dimmers from one Arduino? A: Yes. The RBDdimmer library supports multiple dimmer instances. All share the same zero-cross interrupt pin, but each gets its own PSM output pin.
Q: What about three-phase dimming? A: These modules are single-phase only. For three-phase you’d need three modules (one per phase) and proper phase-synchronized triggering — non-trivial, usually better to buy a commercial three-phase SCR controller.
Q: Are these CE/UL certified? A: RobotDyn modules are RoHS-compliant but not formally CE or UL certified. For commercial products that need certification, consider Krida or a commercial off-the-shelf dimmer.
The Verdict
For 90 % of hobby AC dimming projects, the RobotDyn 1-Channel AC Dimmer is the right answer. It’s cheap, well-supported, properly isolated, and has a huge community.
Upgrade to the 16/24A High-Load version when you outgrow 8 A — same code, same library, just beefier silicon.
If you don’t need dimming and just want WiFi-controlled AC on/off switching, the ESP-01 SSR Relay is silent, fast, and integrates with Tasmota/ESPHome in one minute.
Stay safe, fuse your inputs, and keep your mains wiring inside a proper enclosure.